

Document types and access
A document type describes a kind of document, such as an incoming invoice or a contract, with the fields its documents carry. Access grants decide who sees which documents and what they may do with them. Both are in the workspace settings, which owners and admins manage: select Settings in the sidebar, then Document types (category Documents & filing) or Roles & permissions (category Workspace) on the overview.
Document types
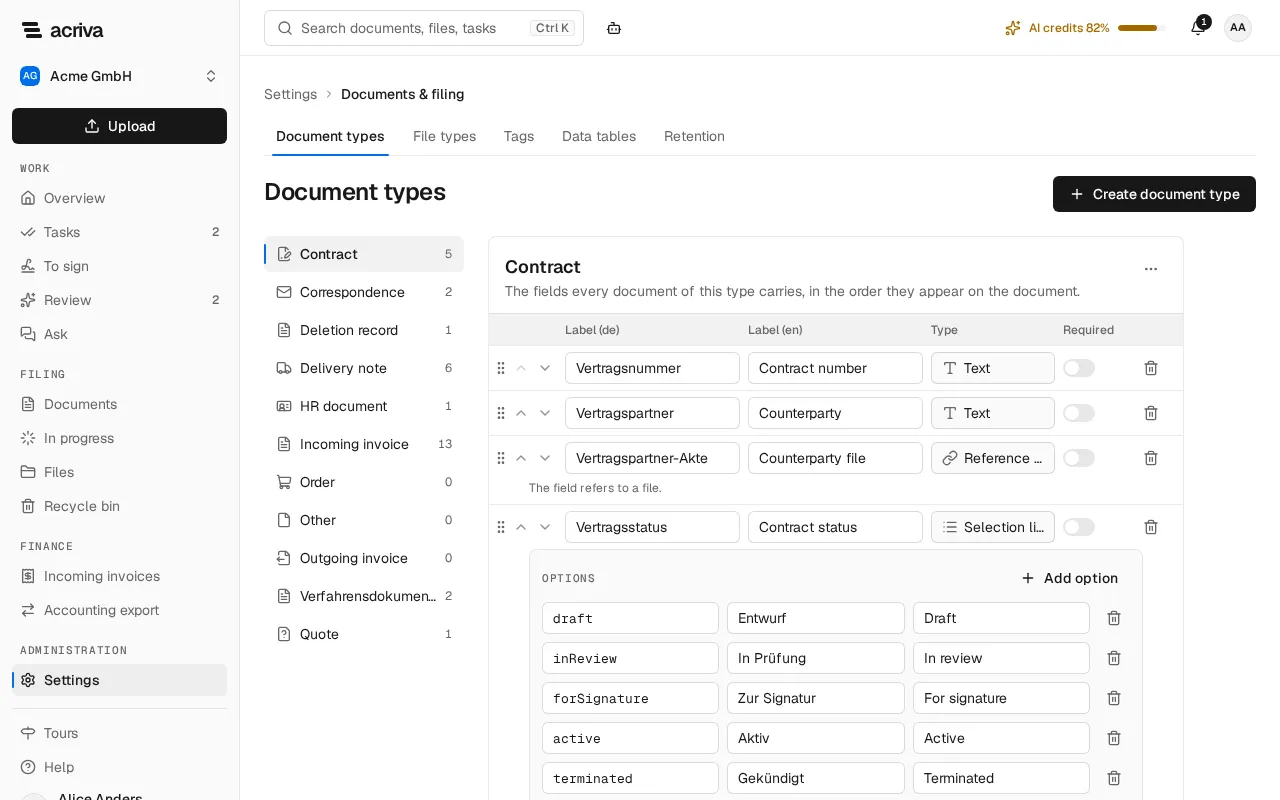
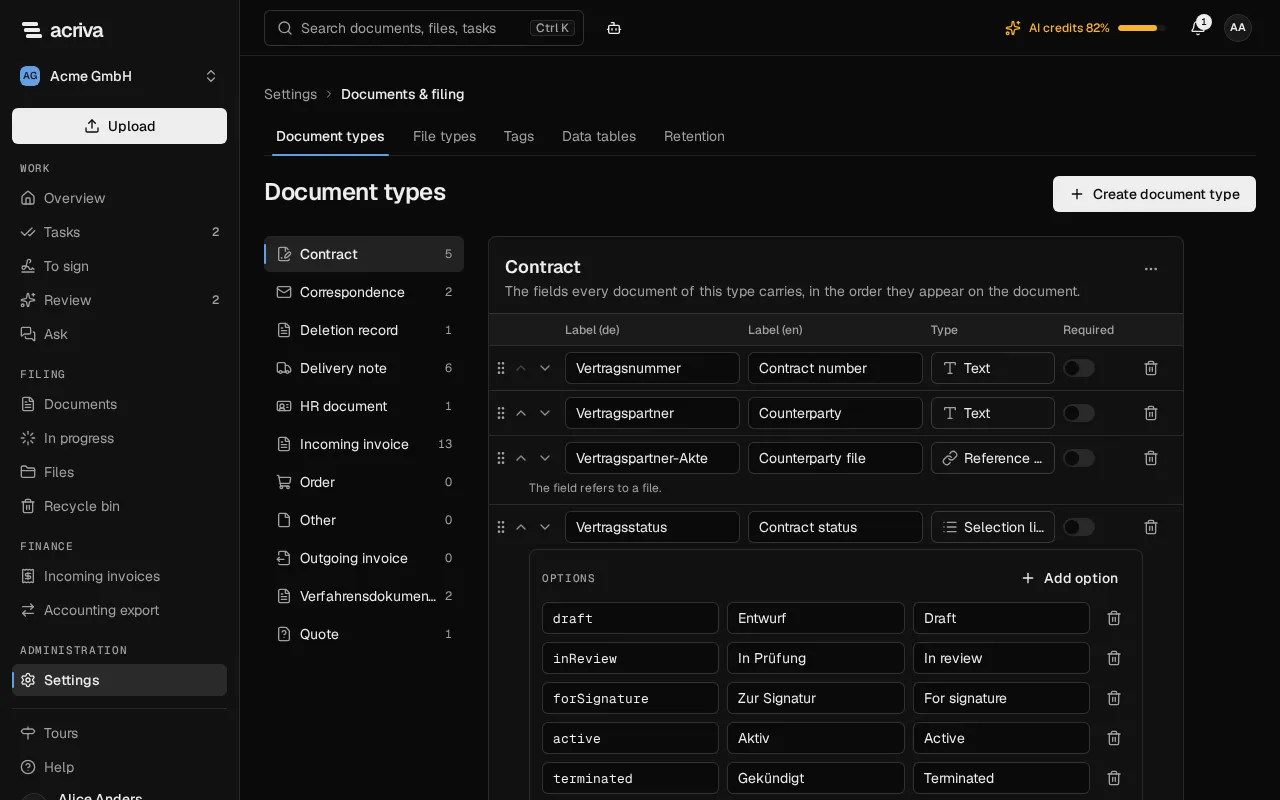
Section titled “Document types”Document types lists the document types of the workspace on the left, each with its icon and the number of its documents you may see; a deactivated type is marked Deactivated. The first type opens next to the list, and selecting another one opens it. Every workspace starts with standard types: incoming invoice, outgoing invoice, contract, delivery note, quote, order, correspondence, HR document and other. You change them like your own.
Everyone who can see documents can open this page. Creating and changing document types needs the permission Manage document types, file types and tags; without it you see the fields read-only.
Two types are built in and read-only for everyone: Deletion record and Verfahrensdokumentation. Acriva files its own records there. They can’t be changed or deactivated, they aren’t offered when you upload, and only owners and administrators read their documents.
Create a document type
Section titled “Create a document type”- Select Create document type at the top right of the page.
- Enter the Key, the Name (German) and the Name (English). The key identifies the type in the API: lowercase letters, digits and hyphens, e.g. incoming-invoice. It can’t be changed later.
- Select Create and add fields. The type opens, and you add its fields next.
Change the fields
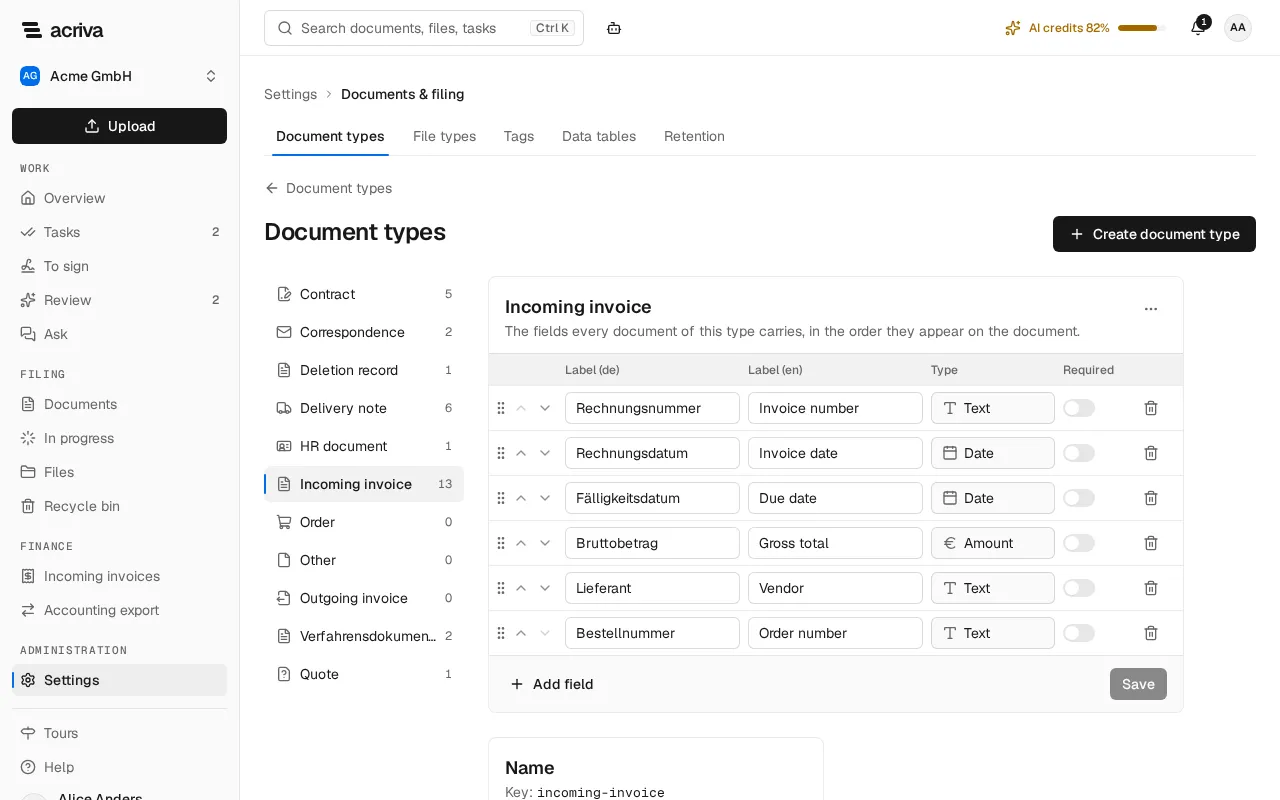
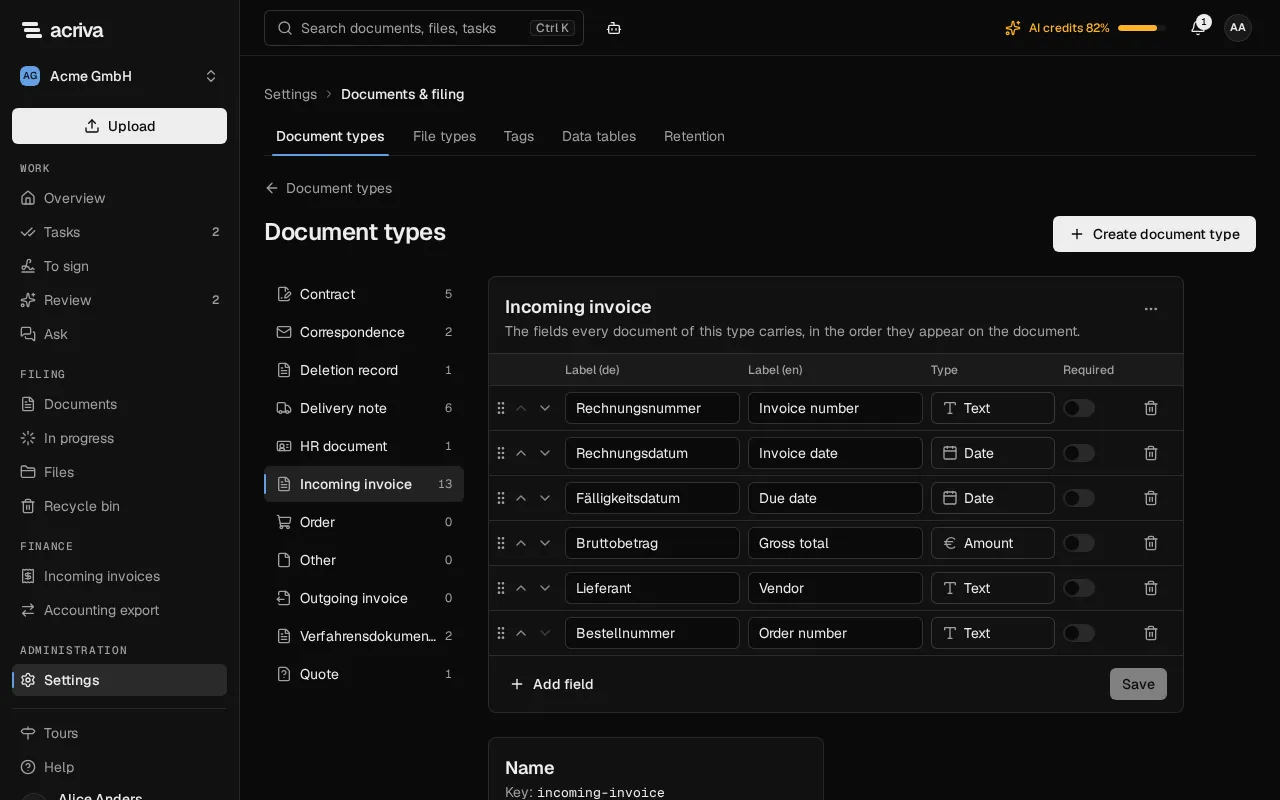
Section titled “Change the fields”Select a document type in the list to open it. Each row of its card is one field, in the order the fields appear on a document: the two labels, the type and whether it is required.
- Select Add field.
- Enter the Label (de), the Label (en) and, below the row, the Key: letters and digits, starting lowercase, e.g. invoiceNumber.
- Choose the Type: Text, Number, Date, Amount, Selection list, Reference to a file or Period. For a selection list, add its Options with Add option, each with a key and its labels. A period is a whole number from 0 to 999 with the unit days, weeks, months or years, for example a contract’s term or notice period; it shows on the document as “3 months”.
- Turn on the switch under Required if every document of this type needs a value.
- Select Save at the bottom of the card. Discard undoes everything you haven’t saved.
Change the order with the arrows next to the grip at the start of a row. The key and the type of a saved field can’t be changed. The card Name below holds the German and English name of the type; Save saves them with the fields.
Changes apply to the next edit of each document. A new required field doesn’t make existing documents invalid; they need a value when they are next saved. When you remove a field, documents keep its values. It then shows under Removed fields, where Restore brings it back.
Deactivate a document type
Section titled “Deactivate a document type”Open the type, select the menu (…) at the top right of its card and choose Deactivate …. Confirm with Deactivate. New documents can no longer use it; documents that already have the type keep it. Reactivate … in the same menu makes it available again.
File types
Section titled “File types”File types in the settings’ category Documents & filing lists the kinds of Akten on the left, such as customer, vendor, employee, project and property. The chosen file type opens next to the list: change its German and English name there and select Save. Select Create file type at the top right to add one. Below the name are the file type’s key fields and its number series. The Akten themselves are under Files (see Akten).
To change anything, you need the permission Manage document types, file types and tags; without it, you see everything read-only.
Key fields
Section titled “Key fields”Key fields are the details every Akte of a file type carries, for example a customer number or a city. They show at the top of every Akte of this type, and the list of Akten shows them in the Key field column (see Key fields of an Akte). A file type has at most 20 key fields.
To add a key field:
- Open the file type and select Add field in the card … · Key fields.
- Enter the Label (de), the Label (en) and, below the row, the Key: letters and digits, starting lowercase.
- Choose the Type: Text, Number, Date, Amount, Selection list or Reference to a file. For a selection list, add its values under Options with Add value, each with a key and both labels, at most 200.
- Turn on the switch under Required when every Akte of this type needs a value.
- Turn on the switch under Unique when each value may occur in one Akte of this type only, for example a customer number. Only a text or a number field can be unique.
- Select Save at the bottom of the card. Discard undoes everything you haven’t saved yet.
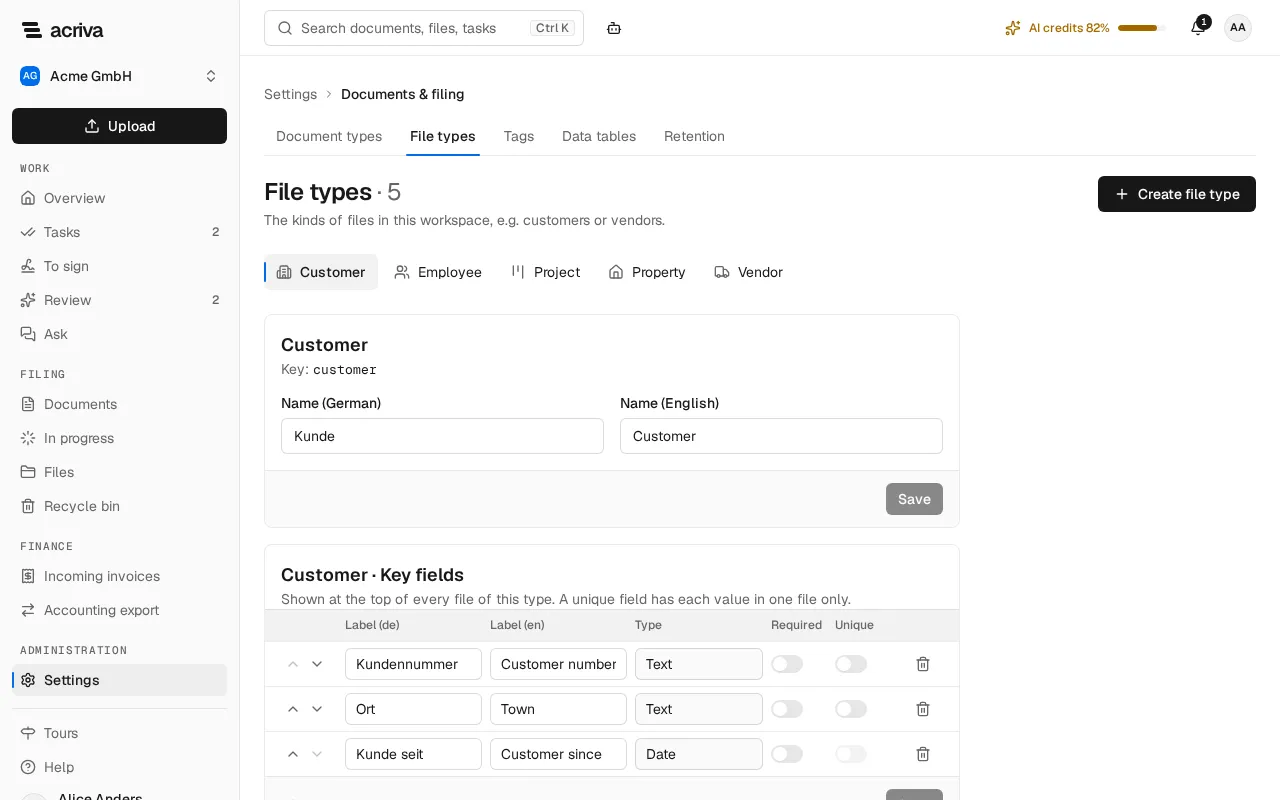
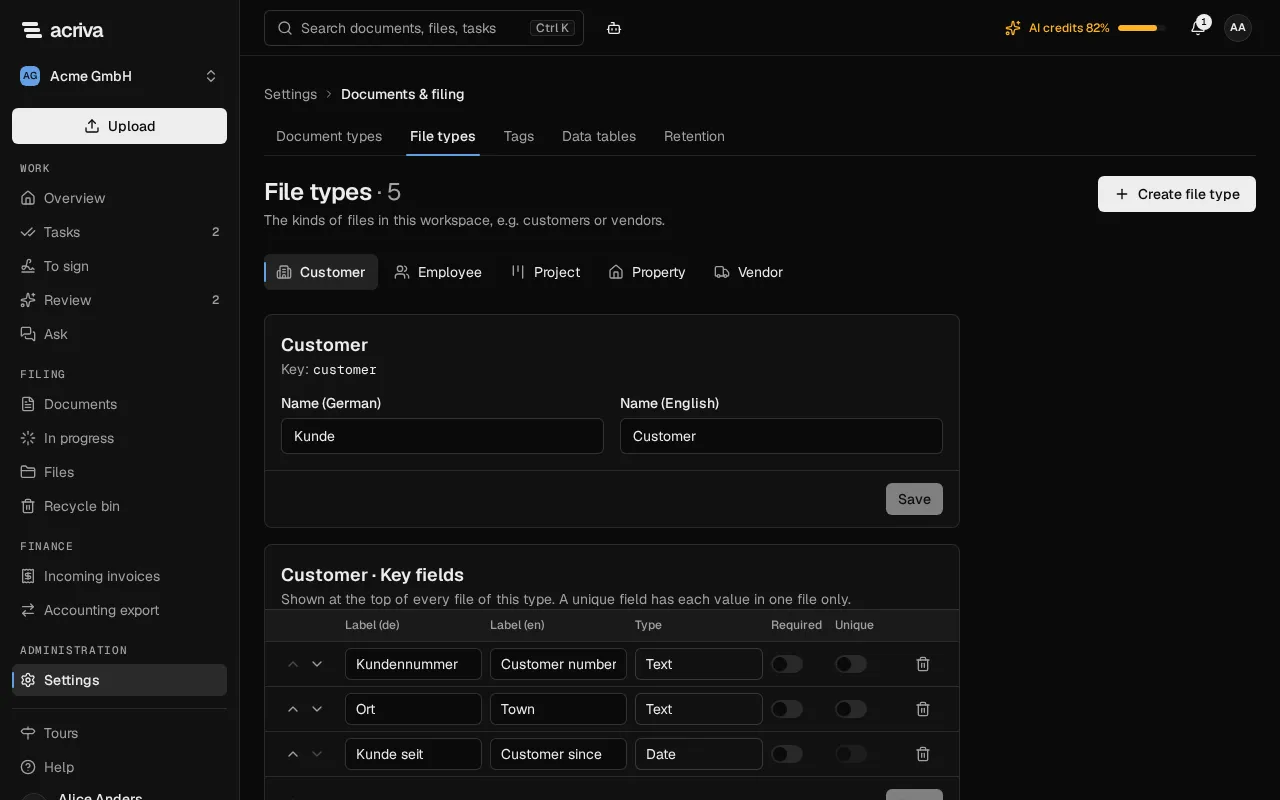
Change the order with the arrows at the start of a row. The key and type of a saved field can’t be changed. A new required field applies to an existing Akte the next time it is edited.
When you remove a field, the Akten that have a value there keep it; it is no longer shown. A removed value of a selection list stays on the Akten that have it and shows there as “no longer in the list”.
A unique field compares values without regard to upper and lower case and to spaces at the start and end. When you make a field unique afterwards, the app checks the existing Akten and refuses the save when
- at least two Akten of this type have the same value in the field. Clean up the values first;
- an Akte has a value of more than 200 characters in the field. Shorten it first;
- the file type has too many Akten with values to make a field unique afterwards.
The reason then shows at the field. When someone else changed the file type in the meantime, the app says so, merges their changes with your entries and names what changed; check the fields and save again.
Number series
Section titled “Number series”With a number series, every new Akte of a file type gets the next free file number. Without one, you type the file number by hand when you create an Akte.
- Open the file type and turn on Assign numbers automatically in the card Number series.
- Enter a Prefix if you like, for example L-. It is optional and has at most 16 characters.
- Enter the Next number: a whole number from 1 to 999,999,999,999. Below it, Next file: shows the number the next Akte gets, for example L-10443.
- Select Save.
The file number is the prefix and the number, without leading zeros. When you create an Akte of this type, the File number field stays empty and the Akte gets the next free number; the series then counts on. A number of your own stays possible when you create an Akte. When an Akte of the type already has the next number, because someone gave it by hand, that number is skipped.
Turn Assign numbers automatically off again and save to go back to typing the number by hand. Existing Akten keep their numbers.
Tags in the settings’ category Documents & filing lists the tags of the workspace. You need the permission Manage document types, file types and tags. Search tags narrows the list; Create tag adds one. The menu (…) of a row offers:
- Rename: every document with the tag shows the new name.
- Merge into…: choose another tag. Every document gets that tag, and the first one is deleted.
- Delete: after you confirm, the tag is removed from every document. The documents stay.
Merging and deleting also change documents you can’t access. Each of these changes is recorded in the audit log.
Document access
Section titled “Document access”Who may read, change and manage documents is set for each role under Settings › Roles & permissions. Everyone who may see the members sees the roles; the document access shows to those with the permission to grant and revoke access to documents.
Each role has a level per scope:
- Read shows documents.
- Write also changes them: upload, edit the metadata, file and tag them, add versions.
- Manage also administers their access: mark them confidential and release other people’s check-outs.
Access applies to the whole workspace, to one document type or to one file (Akte). It only adds rights. When several grants reach a document, for example one for your role and one for you, the highest level counts. A document you have no access to doesn’t appear anywhere: not in the list, not in an Akte and not in the recycle bin.
Set a role’s document access
Section titled “Set a role’s document access”- Under Settings › Roles & permissions, select the role in the list.
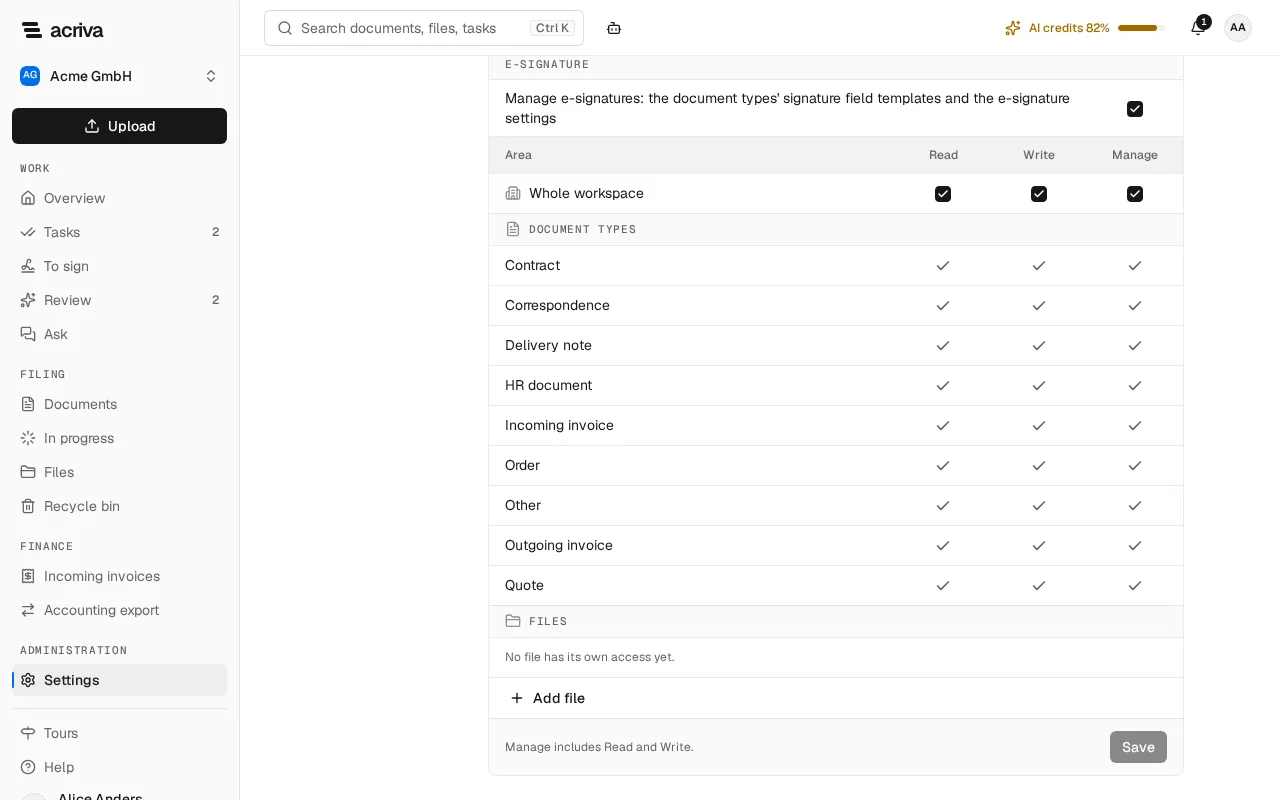
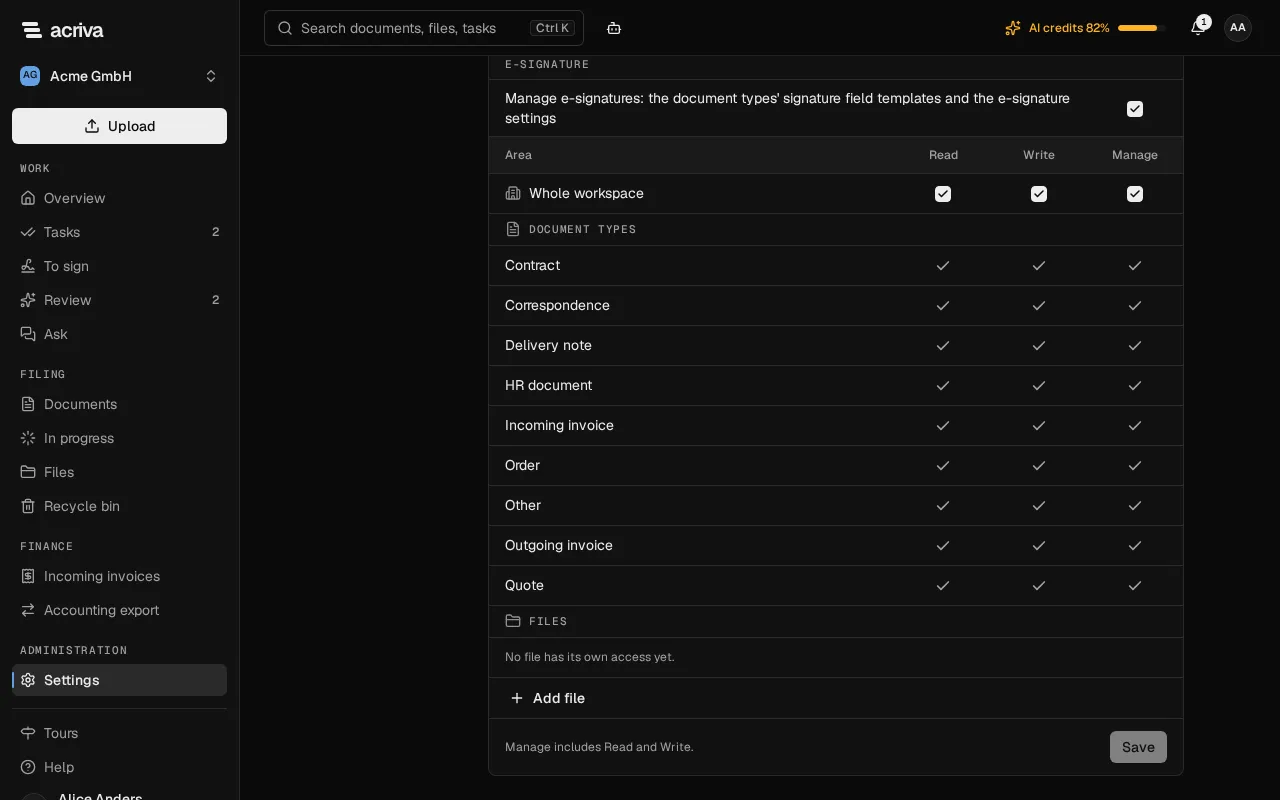
- Below its permissions, the card Document access of … shows a row for the Whole workspace, under Document types one for each active type, and under Files one for each file that has access of its own, with the columns Read, Write and Manage. Tick the level the role gets on a row. Manage includes Read and Write. A row that the whole workspace already allows is marked Allowed for the whole workspace.
- To set the access to one file, select Add file, pick the file and select Add.
- Select Save, or Discard to drop the changes.
The permissions of the built-in roles can’t be changed, but their document access can, with two exceptions. The Approver always reads the documents of their own open tasks; access beyond that is set here. The Auditor (the tax auditor) reads only the documents of the audit scope, set under Tax audit; grants don’t apply to that role. The workspace always keeps one role or member with Manage on the whole workspace.
Every workspace starts with Manage on the whole workspace for Owner and Admin, Write on the whole workspace for Member, and Read on the standard document types for the Tax advisor, except HR documents and the records Acriva writes itself (deletion records and the procedure document). Your own document types get no grant for the tax advisor; add one in the matrix.
Grant access to individual members
Section titled “Grant access to individual members”The last entry of the list, Individual members, shows access that a single member has beyond their role.
- Select Grant access.
- Choose the member, then under Applies to the whole workspace, a document type or a file.
- Choose the Level and select Grant access.
Granting again to the same member on the same scope changes the level, and so does the level in the grant’s row. To end a grant, select Revoke in its row and confirm with Revoke access. Other grants stay.
Confidential documents
Section titled “Confidential documents”A confidential document is visible only to the members on its confidential list, whatever their grants. Use it for documents such as salary statements that only a few people may see.
- Open the document and select Mark as confidential under More actions. At first only you are on the list.
- Select Manage access under More actions.
- Under Confidential list, choose the member in Add a member and select Add. Repeat this for everyone who needs the document.
The list never grants a level: a member on it still needs a grant that reaches the document. The list can’t be empty. To end it, select Remove confidential mark under More actions; everyone whose grants include the document sees it again.
You need the level Manage on the document and the permission to mark documents confidential. Adding members to the list also needs the permission to see members and roles.